Skin tags are small, benign growths that often appear on the neck, underarms, or other body folds. The image suggests a simple, at‑home method using garlic to remove them. Here’s a concise article explaining the process and safety considerations.
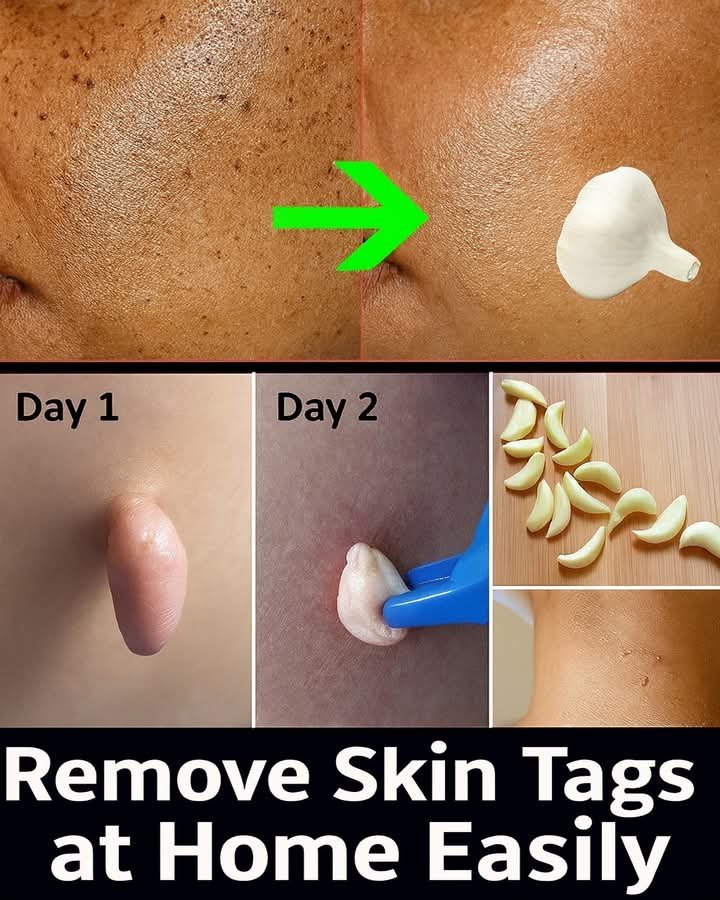
### What the Image Shows
1. Before & After: The top section displays a skin area with a tag (left) and a white cream applied (right), implying treatment.
2. Day‑by‑Day Process: The bottom left panels show a skin tag on Day 1 and a blue tool (likely tweezers) used on Day 2 to manipulate the tag.
3. Garlic: The bottom right inset features garlic cloves, suggesting garlic as a natural remedy.
### Home Removal Method (Garlic Treatment)
1. Prepare garlic: Crush a fresh garlic clove to extract juice or make a paste.
2. Apply: Place the garlic paste directly on the skin tag, covering it with a bandage overnight.
3. Repeat: Continue for several days until the tag shrinks or falls off.
4. Alternative mechanical method: Some people use sterilized tweezers or a skin tag remover tool (as hinted by the blue tool) to clip the tag, but this requires caution to avoid infection.
### Important Safety & Medical Advice
– Consult a professional: Before attempting removal, consult a dermatologist, especially for large or sensitive tags.
– Sterilization: Ensure any tool used is properly sterilized to prevent infection.
– Skin sensitivity: Garlic can irritate skin; test on a small area first.
– Medical alternatives: Professional options include cryotherapy, excision, or cauterization, which are safer and more effective.
### Conclusion
The image promotes a DIY garlic treatment for skin tags. While some people try natural remedies, medical supervision is recommended for safe and effective removal. Prioritize hygiene and professional advice to avoid complications.
Do you want more details on professional skin‑tag removal methods or tips for preventing skin tags?
